We edited our final music sequence using the software Adobe Premiere Pro. Going into the editing process, we had to bear in mind all that we had learnt from our test edit and audience feedback. This process also involved a lot of trial and error as were constantly replacing shots with others that we felt might work better and due to the vast amount of good shots that we had it was difficult for us to choose. Below I have included the notes that we found for ourselves along with the notes given to us through feedback sessions.
During our final edit it was important for us to figure out a new look for our music video opening. In our test edit, our opening immediately introduced the artist through a MS of myself in front of a projector. However, after receiving feedback, we decided to create a new opening which built atmosphere gradually. To achieve this we compiled a series of short voyeuristic shots such as a CU of Eyes and Lips so that the artist's image would be slowly revealed, rather than just being introduced immediately. These voyeuristic shots were cut to the beat, varying in length as we had also been told that the cuts in our test shoot were too predictable. Once we had these shots in place, we wanted to play around with the different transition effects that we had available. For example, after I played around with the different types of dissolves (as seen), I felt that the 'cross dissolve' was most suited to our video. These dissolves helped to make our video more fluid and created an effect that was aesthetically pleasing.
Above are the various dissolve effect options and below that is our timeline with the addition of the cross dissolves which can be identified by the purple box on the top of the shot.
 
Above is our original idea for the opening compared to our final opening sequence. It is clear that the second opening is much more effective as it builds up suspense as the audience wait to see the full image of the artist. The different shot and lighting types are more interesting visually and create the drama required in a music video. The use of voyeuristic shots adheres to the theories constructed by theorists such as Laura Mulvey as they introduce an element of sexuality as the camera follows the male gaze.
The transition tools proved to be very important for our video as they allowed us to combine the studio narrative to the male narrative seamlessly. For example, when the male character falls asleep I used the fade transition effect in order to connote his dream like state. I then cross dissolved this to a shot of myself in the studio lip syncing whilst putting my hands in a praying position. This fusion of narratives was to foreshadow the events within the rest of the video as I appear to be pleading with the male character to stay safe in the dangerous world that we are surrounded by.

After we had placed all of the shots that we wanted on our timeline I took it upon myself to grade the video. I completed this task with the aid of the ProcAmp tool as seen.
During this process I had to go through each shot individually and alter the brightness, contrast and saturation settings. This was a tedious process as it required a lot of experimenting with different settings. It was important for me to bring out the colour within each shot in order to create a more vibrant look, however, I had to do this in such a manner that I did not compromise the colour of any character's skin, therefore impairing the realistic look. Grading was a vital aspect of editng as I soon discovered the dramatic effect that it had on the look of our footage. For example, in the original footage seen our shot appears very dull and grey, however, after using the procAmp tool I was able to bring out the colour in the background graffiti. In addition to this I was able to bring out the colour in Andy's skin. This makes the shot appear more realistic, heightening the audience's ability to believe and relate to the video.
|
 |
| Before grading |
 |
| After I graded |
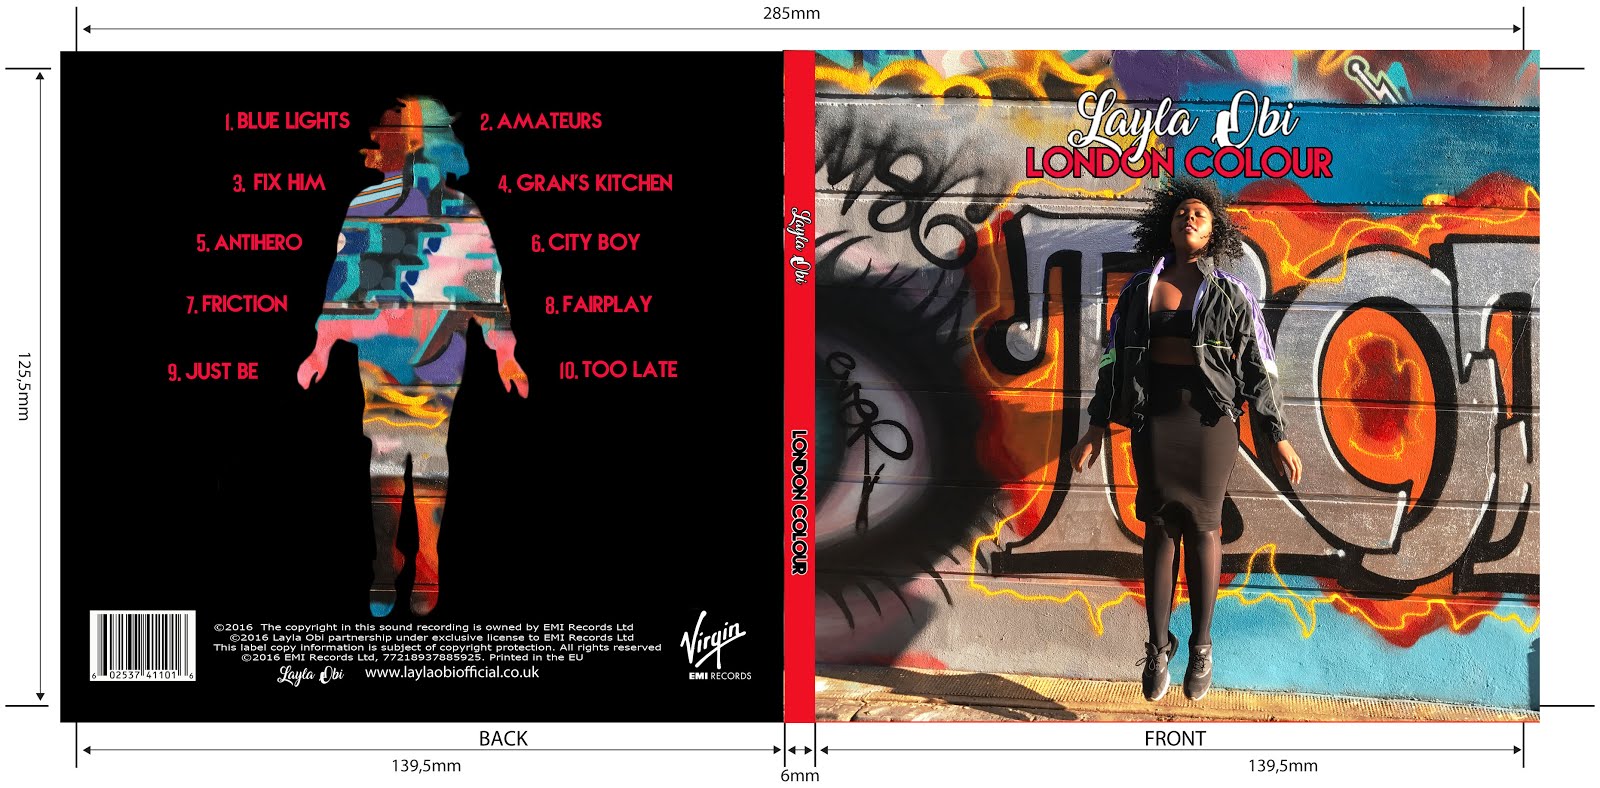
An issue that we encountered whilst editing was sticking to the guidelines of the brief which stated that the video must be 3 minutes long. Originally, our video lasted a total of 3 minutes and 40 seconds which is evident in our test edit so we had to find a way to reduce this drastically. In order to adhere to the brief, Matt was able to edit the audio of our song so that it lasted a total of 2 minutes and 55 seconds. This was very benficial for our group as it meant that we no longer had to force ourselves to put in unnecessary shots in order to fill up time. However, 2 minutes 55 seconds still didn't meet the brief's requirements so i thought of a way that we could fill up this time. To do this I created a title in which the institution appeared at the end of the video along with their copyright claims. This is a convention seen within many music videos as it is another way that an institution is able to put their own 'stamp' on their projects.
Above is the institutional logo that appears at the end of the music video for the song 'Do It Again' by Pia Mia compared to the one that appears in my video.
To conclude, this was one of the most enjoyable parts of the process for me as I was able to see all the hard work that my group had done come together. It was a very difficult process that tested our editing abilities as well as our creative instinct, however, I think that this was worth it as we were able to create a video that I am very pleased with.
 |
| A real video example |
 |
| Our title |
Above is the institutional logo that appears at the end of the music video for the song 'Do It Again' by Pia Mia compared to the one that appears in my video.
To conclude, this was one of the most enjoyable parts of the process for me as I was able to see all the hard work that my group had done come together. It was a very difficult process that tested our editing abilities as well as our creative instinct, however, I think that this was worth it as we were able to create a video that I am very pleased with.


No comments:
Post a Comment